


What You'll Need: Tools & Materials
Gathering everything before you begin is the key to a smooth process.
Tools:
- A Stepladder
- A Quality Measuring Tape (steel is best)
- A Pencil
- A Spirit Level (Essential!)
- An Electric Drill with drill bits (including a masonry bit if drilling into brick or concrete)
- A Screwdriver (often the drill has a screwdriver bit, which is perfect)
- Wall Anchors (Plugs) - usually provided with the blinds, but have some extras handy.
- Safety Glasses
Materials:
- Your new blackout roller blind
- The mounting brackets (supplied with the blind)
- The screws (supplied with the blind)
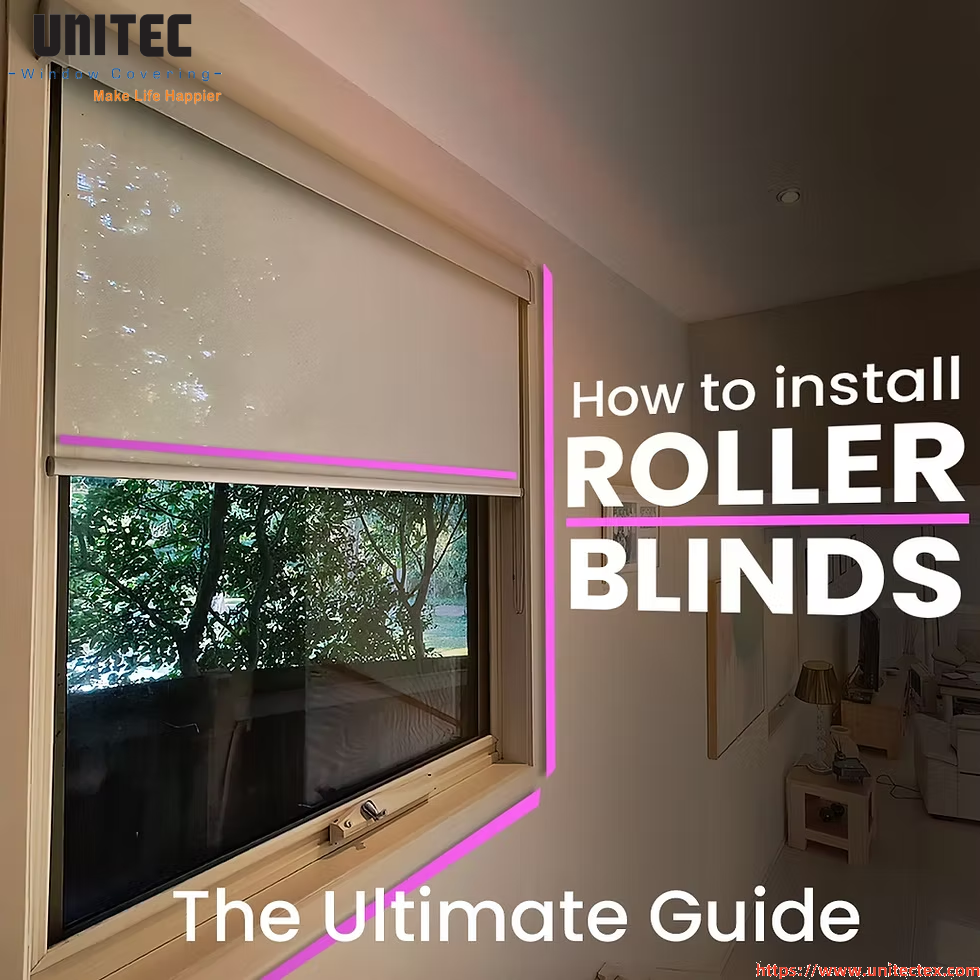
Step 1: The Most Important Step - Measure and Decide on Mount Type
Before you touch a drill, you must decide on your mounting style. This choice affects both aesthetics and function, especially for light blockage.
Option A: Inside Mount (Recessed)
The brackets are installed inside the window frame or recess. This gives a clean, built-in look that is very popular.
- Pros: Sleek, modern appearance; doesn’t interfere with wall moldings or window handles.
- Cons: Requires a deep enough window recess; can allow slight light leakage on the sides if not measured perfectly.
- Check: Measure the width of the recess at the top, middle, and bottom. Use the smallest measurement. Measure the height on the left, middle, and right. Use the longest measurement. Ensure the depth of the recess can accommodate the blind and bracket assembly.
Step 2: Unpack and Identify the Parts
Lay everything out on a clean surface. Your kit should include:
- The roller blind itself (the fabric tube)
- Two or more mounting brackets
- Screws and wall plugs
- A chain or bead cord for operation
- A safety cleat (to secure the chain)
- Instructions – give them a quick read as brands can have small variations.
Step 3: Mark the Bracket Positions
This is where your pencil and level are crucial.
- For Inside Mount: Hold the bracket in the top corner of the window recess where you want it. Use your pencil to mark the screw holes. Repeat on the other side.
- For Outside Mount: Decide on the blind's placement. Hold the bracket in place on the wall above the window. Use your spirit level on top of the brackets (or a marked line) to ensure they are perfectly level. Crooked blinds are painfully obvious—take your time here! Mark the screw holes once everything is level.
Troubleshooting Common Issues
Light Leaking from the Sides (Inside Mount): This is common. Consider adding light gap blockers or adhesive-backed foam weather stripping to the sides of the recess.
The Blind Doesn't Roll Up Straight: The spring tension may need adjusting. Consult your manufacturer's instructions, as this usually involves partially unrolling the blind and giving the bottom rail a few turns in a specific direction.
The Blind is Difficult to Raise/Lower: Check if the brackets are too tight against the roller, creating friction.
Conclusion: You've Got This!
Installing your own blackout roller blinds is an immensely rewarding project. It saves you money on professional installation and gives you the pride of having improved your home with your own hands. By following these steps carefully, prioritizing accurate measuring and leveling, you can ensure a perfect fit and finally enjoy the profound benefits of complete darkness.
Now, step back, close your new blind, and bask in the glorious, restful darkness you created. Sweet dreams
For more information about curtains, please follow us and contact us
Post time: Sep-09-2025